
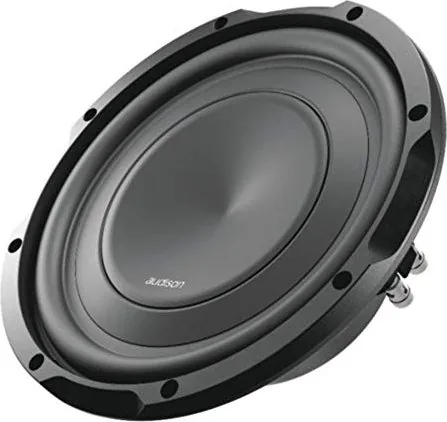
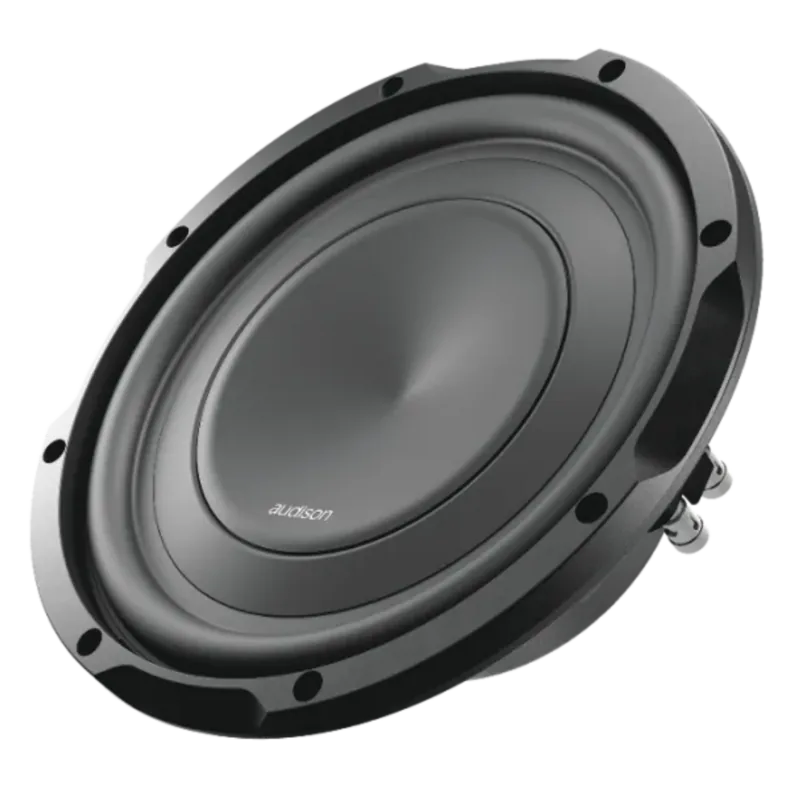
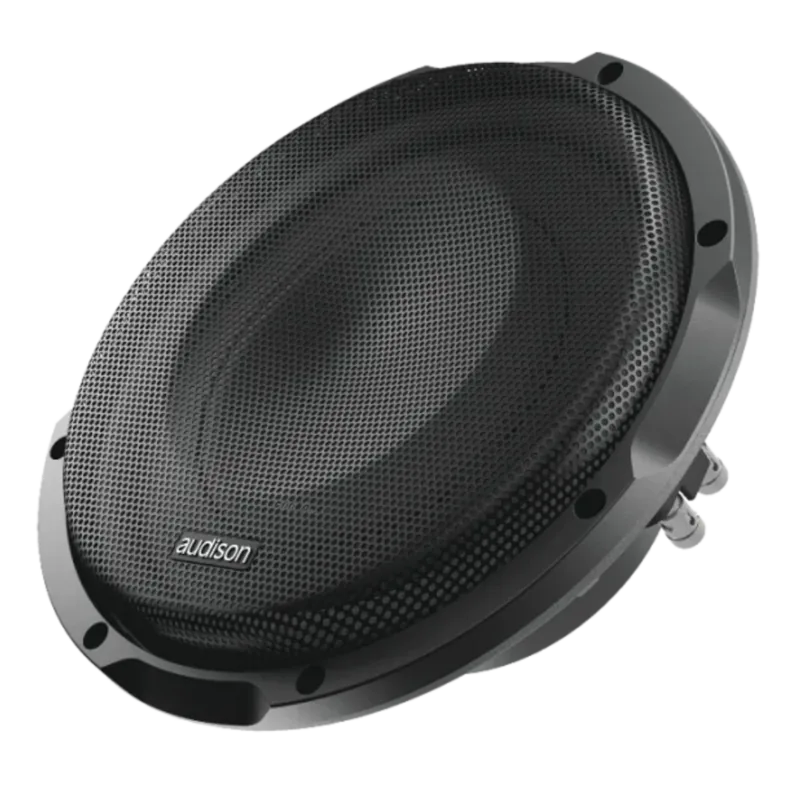
Audison Prima APS 10 S4S Petunjuk-Penggunaan
345 · 52 Halaman
Bahasa indonesia



Quick check
Incorrect answer, please try again.
Chat dengan manual Audison Prima APS 10 S4S Anda menggunakan AI
Dapatkan jawaban AI instan dari manual Audison Prima APS 10 S4S Anda
Tanyakan apa saja tentang Audison Prima APS 10 S4S. Jawaban berasal dari manual ini, beserta halaman yang menjadi dasarnya.
Ajukan sebuah Pertanyaan
Apakah Anda merekomendasikan Prima APS 10 S4S?
Ya NoPreguntas Frecuentes Preguntas
Confirm your car has a 12V DC negative-ground electrical system. Plan mounting so the unit is firmly fixed to the vehicle structure. Read through the wiring guidance, then switch off the head unit and audio gear before connecting cables. This reduces the risk of damage during installation.
341
The manual specifies an RCA input signal range (0.3V RMS to 5V RMS). For high-level input, it specifies a different voltage window (1V RMS to 22V RMS). If you use a pre-wired connection, it advises not to use high-level input at the same time.
341
Yes. The guidance describes a remote turn-on terminal that can start the amplifier from a source-specific output. It also explains that when using high-level (speaker IN), the amplifier can auto-start if the front panel switch for Hi-IN auto turn-on is set to ON.
341
Place the insulated fuse holder as far as described from the battery positive terminal, up to 40 cm maximum. Connect the power lead correctly in the proper order, and ensure fuse rating follows the document guidance, including the relationship to the amplifier built-in fuse(s).
341
Route signal cables together and keep them away from power cables. Avoid crossing or running signal next to the power run where possible. The manual emphasizes secure cable fixing, protecting cables through chassis holes with rubber grommets, and ensuring insulation is intact throughout the run.
341
For tuning, the document suggests setting the source volume to about 3/4 of maximum first. Then adjust the amplifier level while listening, stopping when distortion appears. The goal is to reach strong output without audible distortion.
341
Keunggulan dan Kekurangan
advantages

- Clear safety priorities: proper mounting, powering down before wiring, and careful handling of hot components.
- Flexible connectivity: supports both RCA and high-level (speaker) input signals with defined voltage ranges.
- Practical anti-noise wiring advice: keep signal cables away from power cables and route carefully.
- Well-defined power safety steps: correct polarity, fuse placement away from the battery, and appropriate conductor sizing.
- Guided tuning approach: calibrate listening level and amplifier gain to minimize distortion.
Kekurangan

- Installation is detail-heavy, requiring careful routing, grounding continuity checks, and strict cable management.
- It assumes a 12V DC negative-ground vehicle and correct polarity, so mistakes can quickly become problems.
- Input signal must fall within stated RCA and high-level voltage windows for reliable performance.
- The amplifier can get hot (about 80C), so placement and operating conditions require attention.
- Best results depend on correct fuse sizing logic and precise wiring separation to avoid interference.
Produk Spesifikasi
Tipe
Subwoofer
Amplifikasi
pasif
Prinsip
1-Arah
Tweeter
tidak ada
Midrange
tidak ada
Woofer
1x 254 mm
Daya
400 W RMS, 800 W Peak
Impedansi
4 Ohm
Sensitivitas
84 dB
product description
Audison Prima APS 10 S4S - Clean, Controlled Bass with Smart Installation Guidance
If you are after punchy, well-controlled low end, the Audison Prima APS 10 S4S is built to bring a tighter sound character to your car audio system. This unit is designed to integrate smoothly with common head units and amplifiers, including setups that use either line-level (RCA) or high-level (speaker) signals. The Audison Prima APS 10 S4S Manual highlights the practical steps that matter most: safe mounting, correct wiring, and careful signal setup so you get performance without noise or reliability issues.
A big theme is installation discipline. Before powering anything, the guidance stresses that components must be firmly fixed to the vehicle structure, and that you should protect the system from electrical hazards and accidental damage. It also advises against installing in the engine bay and recommends switching off the head unit and audio equipment before you start wiring. For anyone doing a DIY build, that safety-first approach makes the install feel more predictable.
On the electrical side, the manual is very specific about what the system expects. It calls out a 12V DC, negative-ground electrical scheme and provides input voltage ranges for both RCA and high-level connections. It also explains how to route power and signal cables correctly, keeping them apart to minimize interference. For power wiring, it references appropriate conductor sizing (AWG) and instructs you to protect cables passing through chassis holes with rubber grommets.
Because car audio lives in real-world temperatures, the document notes that the amplifier can reach around 80C (176F). It recommends handling with care and keeping the unit clean using safe methods, avoiding corrosive solvents and compressed air that can push debris into the amplifier.
Key takeaways
- Supports line-level (RCA) connections within a defined voltage window for stable signal transfer.
- Also supports high-level (speaker) inputs with an automatic turn-on option when configured.
- Wiring separation between power and signal helps reduce noise during playback.
- Correct fuse placement and battery polarity wiring are emphasized for safe operation.
- Tuning guidance focuses on calibrating listening level and setting amplifier gain to avoid distortion.
Notes
- Remote turn-on can be handled via a dedicated terminal, and high-level input can auto-start depending on the panel switch.
- Signal calibration is recommended by playing at about 3/4 of source maximum volume, then adjusting until distortion is not present.
Cari 67.706 Manual online


Ketik Merek atau Model